 angielski
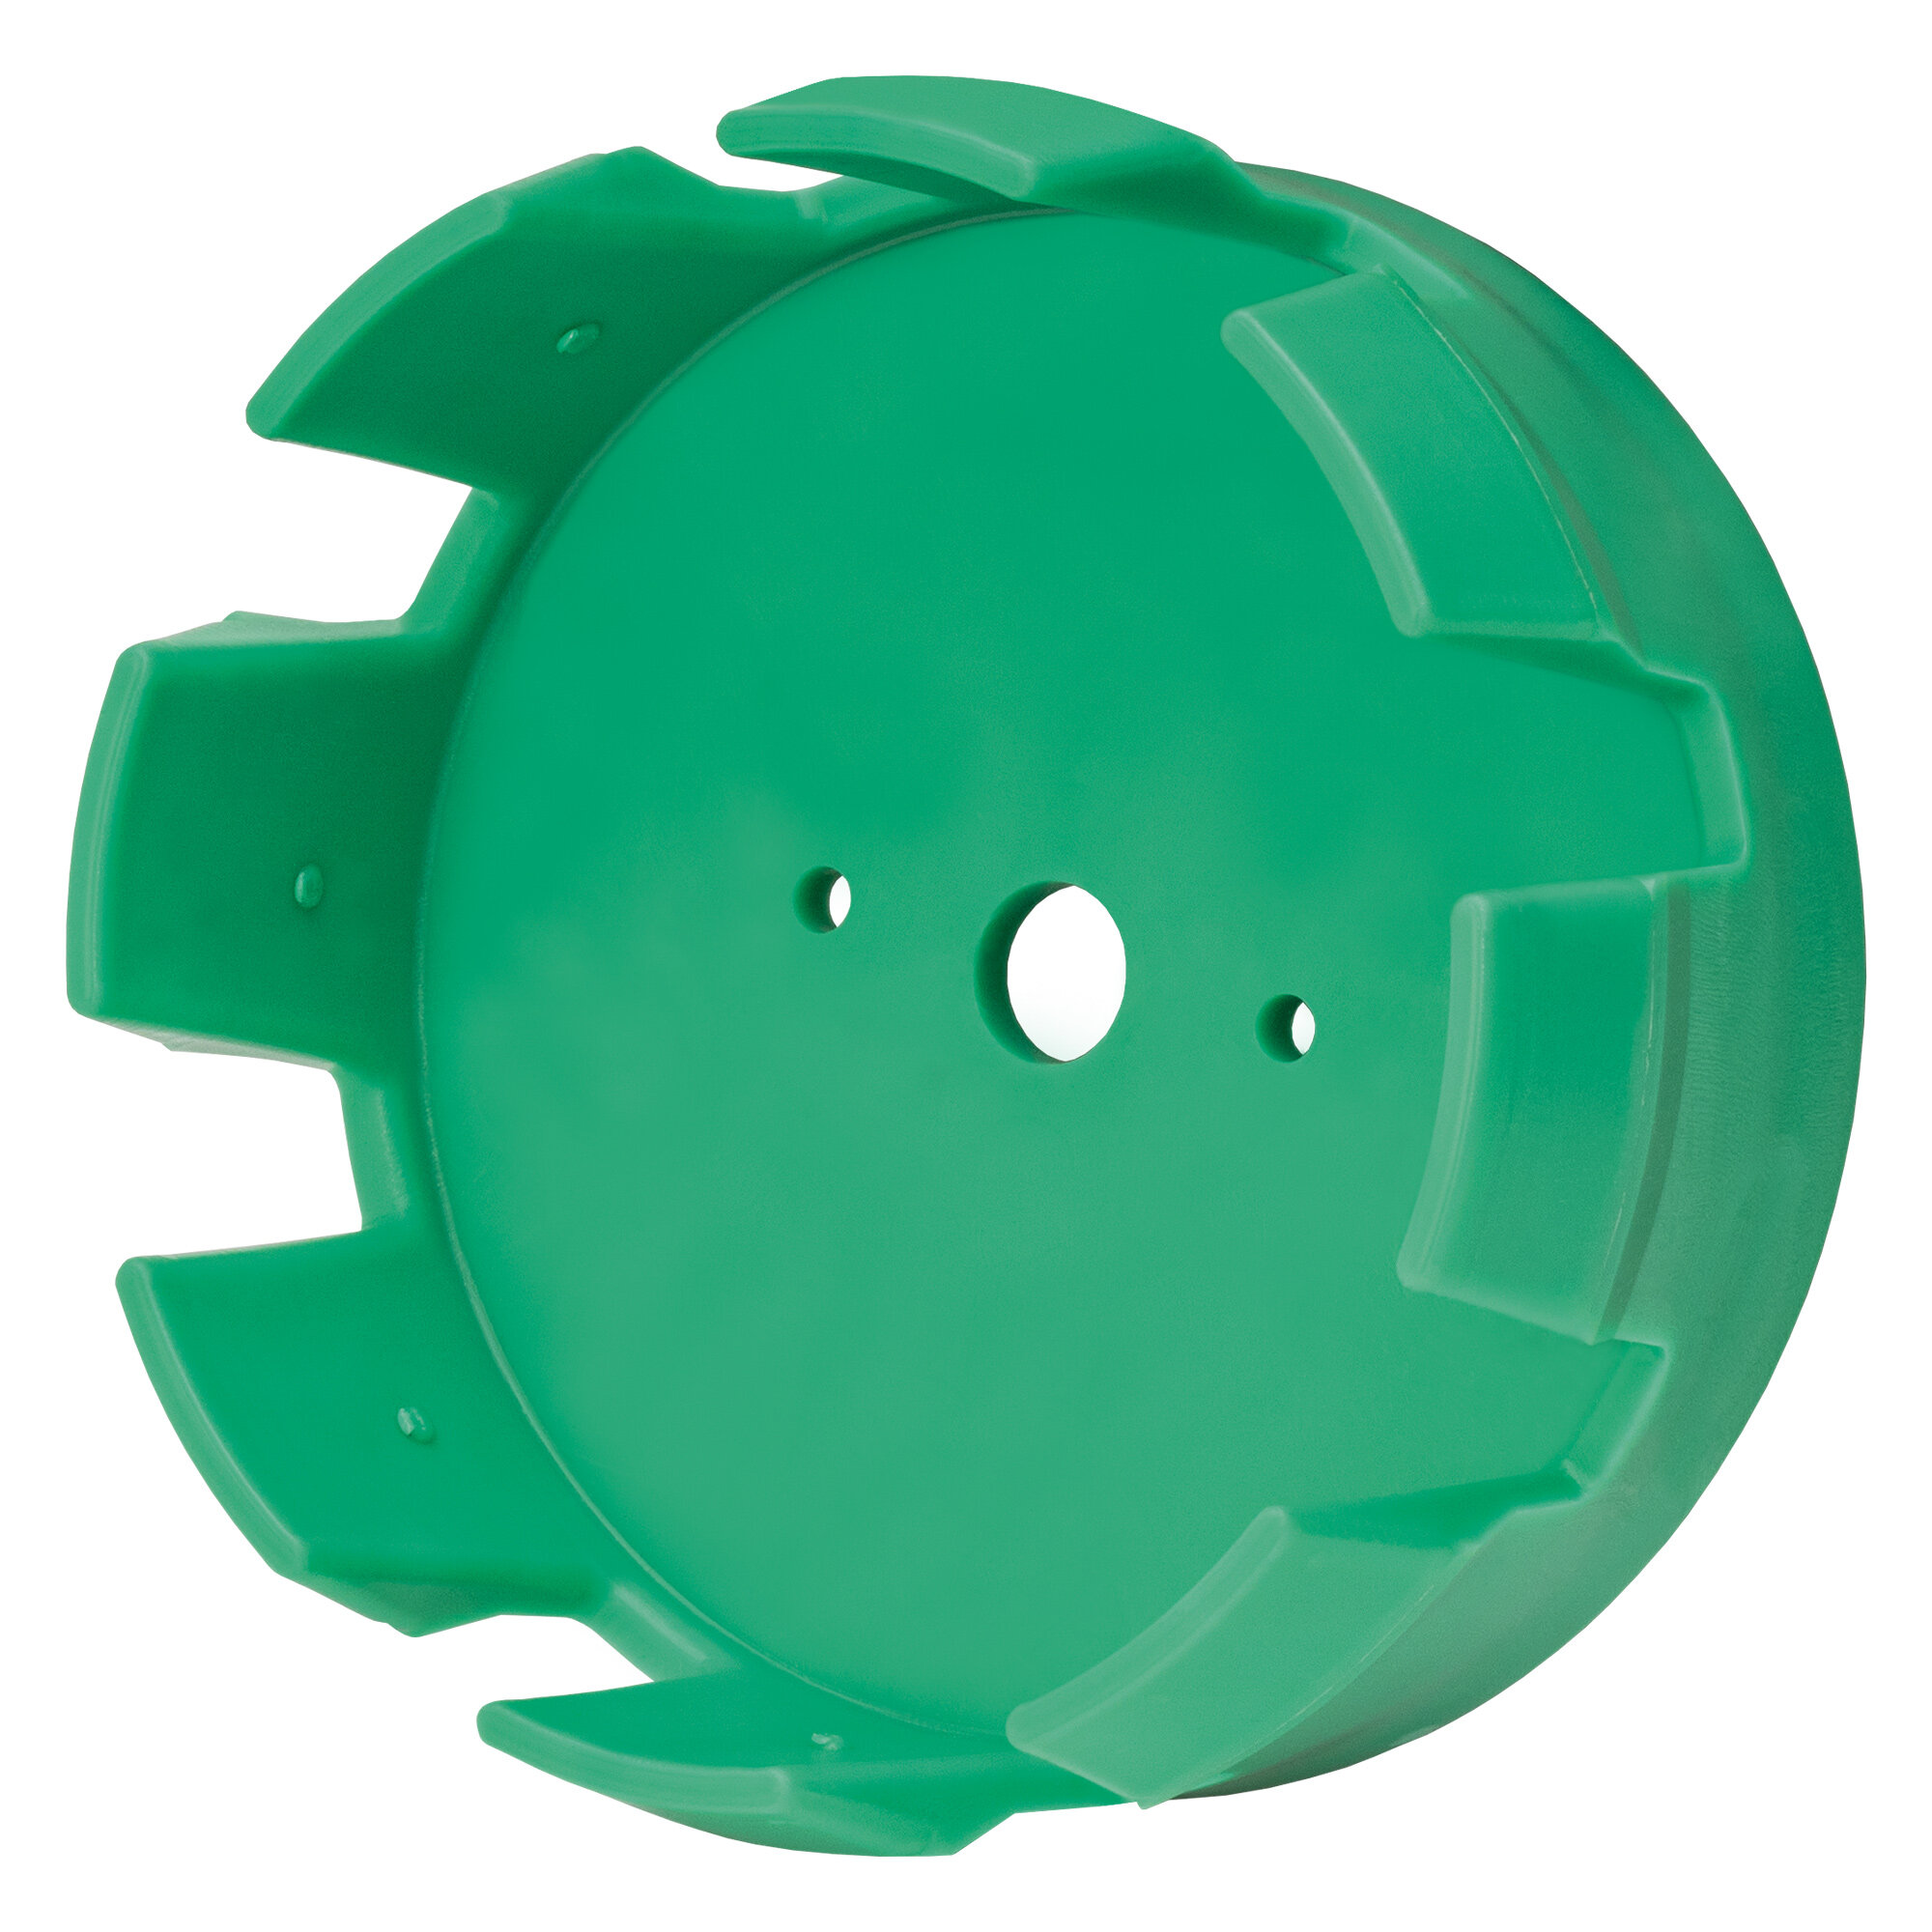


z otworami na gwoździe i uchwytem na śrubę
numer artykułu 090816
System mocowania rur osłonowych i uziemiających punktów kotwiących na placu budowy i w zakładzie prefabrykacji
Instrukcja montażu z FIX Magneto
Instrukcja montażu z adapterem śrubowym FIX
Installation instructions with nails
Najważniejsze informacje w skrócie
![]()
MASTERTEC GmbH & Co.KG
Installing instruction for FIX formwork aid - using the FIX screw adapter

Mark the position of the pipe on the formwok and drill an Ø8mm hole in the center.

Insert the FIX screw adapter into the FIX formwork aid and press it in firmly.

Attach the FIX formwork aid to the desired position on the formwork.
For better orientation and easier positioning, there are markings on the sides of the formwork aid.
Then insert the screw of the FIX screw adapter and guide it through the hole in the formwork.
Press the screw frimly into the screw adapter.

Secure the FIX formwork aid from the outside of the formwork using the washer and wing nut.

Place the lining pipe or the wall penetration on the FIX formwork aid.

The pipe is then pushed onto the formwork aid until it rests against the formwork.
The clamping force of the claw is holding the pipe in position.

The reinforcement can then be laid, the second formwork placed and the wall concreted.

After concreting, the wingnut and washer are removed and set aside.

The screw can easily be pushed inte the pipe by using a hammer.

After removing the formwork, the formwork FIX formwork aid can be pulled out by using the FIX removal aid and the screw can be removed from the pipe.
Installation instruction FIX Formwork aid with the FIX Magnet Systems

Insert the FIX Magnet into the FIX Formwork aid.

On the opposite side, secure the FIX Magnet with the supplied wing nut.
If necessary, the screw in the magnet must be held with an allen key.

Attach the FIX formwork aid to the desired position on the steel formwork.
For better orientation and easier positioning, there are markings on the sides of the formwork aid.

Place the lining pipe or the wall penetration on the FIX formwork aid.

The pipe is then pushed down onto the formwork aid until it rests against the formwork.
The clamping force of the claw and the magent prevent the pipe from shifting in position.

After that, the reinforcement can be laid and the two shells concreted.

After setting up the finished wall part, the construction period cover is removend first (if installed)

After that, the FIX formwork aid can be pushed out.
Installation instruction FIX formwork aid, attached with nails

Mark the position of the pipe on the formwok

Attach the FIX formwork aid to the desired position on the formwork.
For better orientation and easier positioning, there are markings on the sides of the formwork aid.

Then attach the FIX formwork aid to the formwork, using nails through the provided holes.

Place the lining pipe or the wall penetration on the FIX formwork aid.

The pipe is then pushed onto the formwork aid until it rests against the formwork.
The clamping force of the claw is holding the pipe in position.

The reinforcement can then be laid, the second formwork placed and the wall concreted.

After removing the formwork, the formwork FIX formwork aid can be pulled out by using the FIX removal aid.
Stand: 23.04.2024
Akcesoria
odpowiednie akcesoria


Do stałych podpór szalunkowych do mocowania do szalunków stalowych ...

Skontaktuj się z nami
Chętnie odpowiemy na Twoje pytania