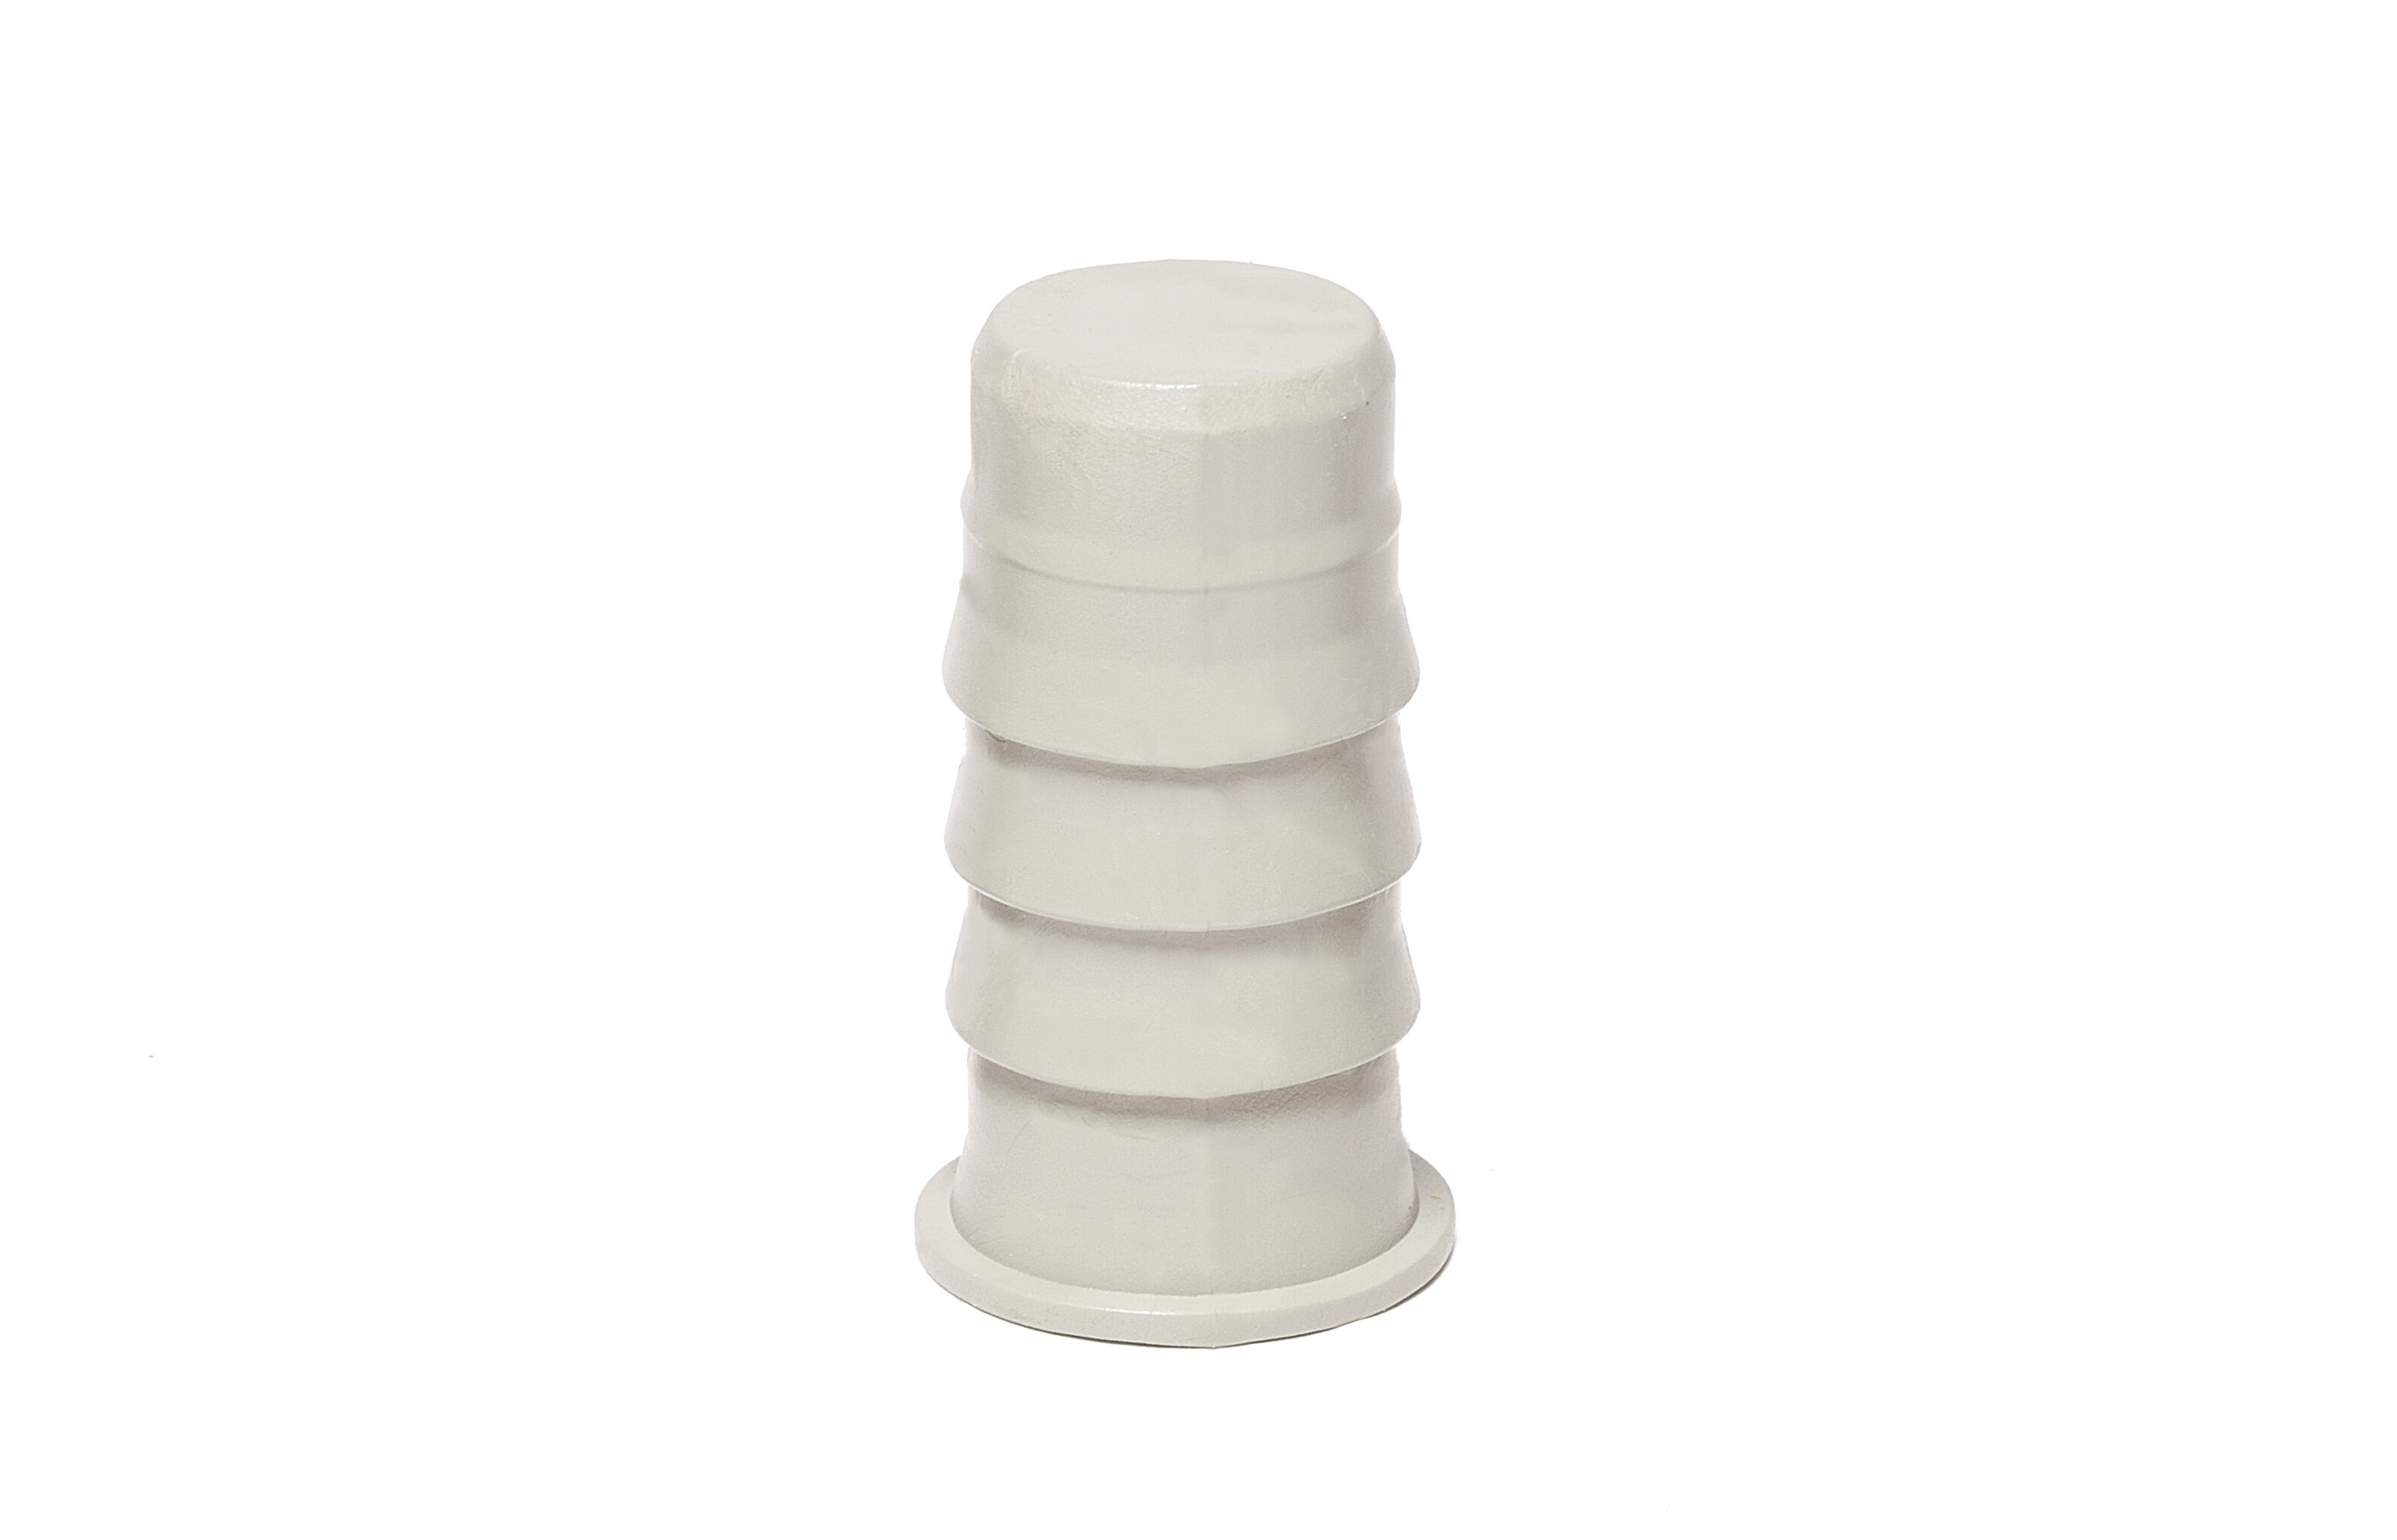
Твърда пластмасова уплътнителна тапа
номер на статията 046150


Вътрешна хидроизолация за стени с дебелина от пластмаса и фиброцимент
Добавяне към списъка с известияНай-важната информация с един поглед

![]()

TPE - термопластичен еластомер
За вътрешен диаметър от 21,5 до 23 мм
ca. 70 ± 5 Shore A
Отчет за теста
MFPA Лайпциг
PB P 5.1/15-012
Изпитване на JGS
MPA Braunschweig
(1200/442/15c) - Пан
Напр. кал, течен оборски тор, изтичане на силаж, метан, радон, ултравиолетова радиация, озон, битум
250 броя / кофа
Не
Ja
Клас "E", съгласно DIN-EN 13501-1

Required tooling:
Hard rubber mallet: 1500 - 2000 g
Cleaning brush for tube 21.5 - 26 mm ( Art.-Nr.: 046170)
Drive-in aid ( Art.-Nr.: 046180)

Soiled distance tubes must be thoroughly cleaned before installing the STOPPER.
The entire installation area must be properly cleaned as otherwise it will not be possible to drive in the STOPPER to its final depth.

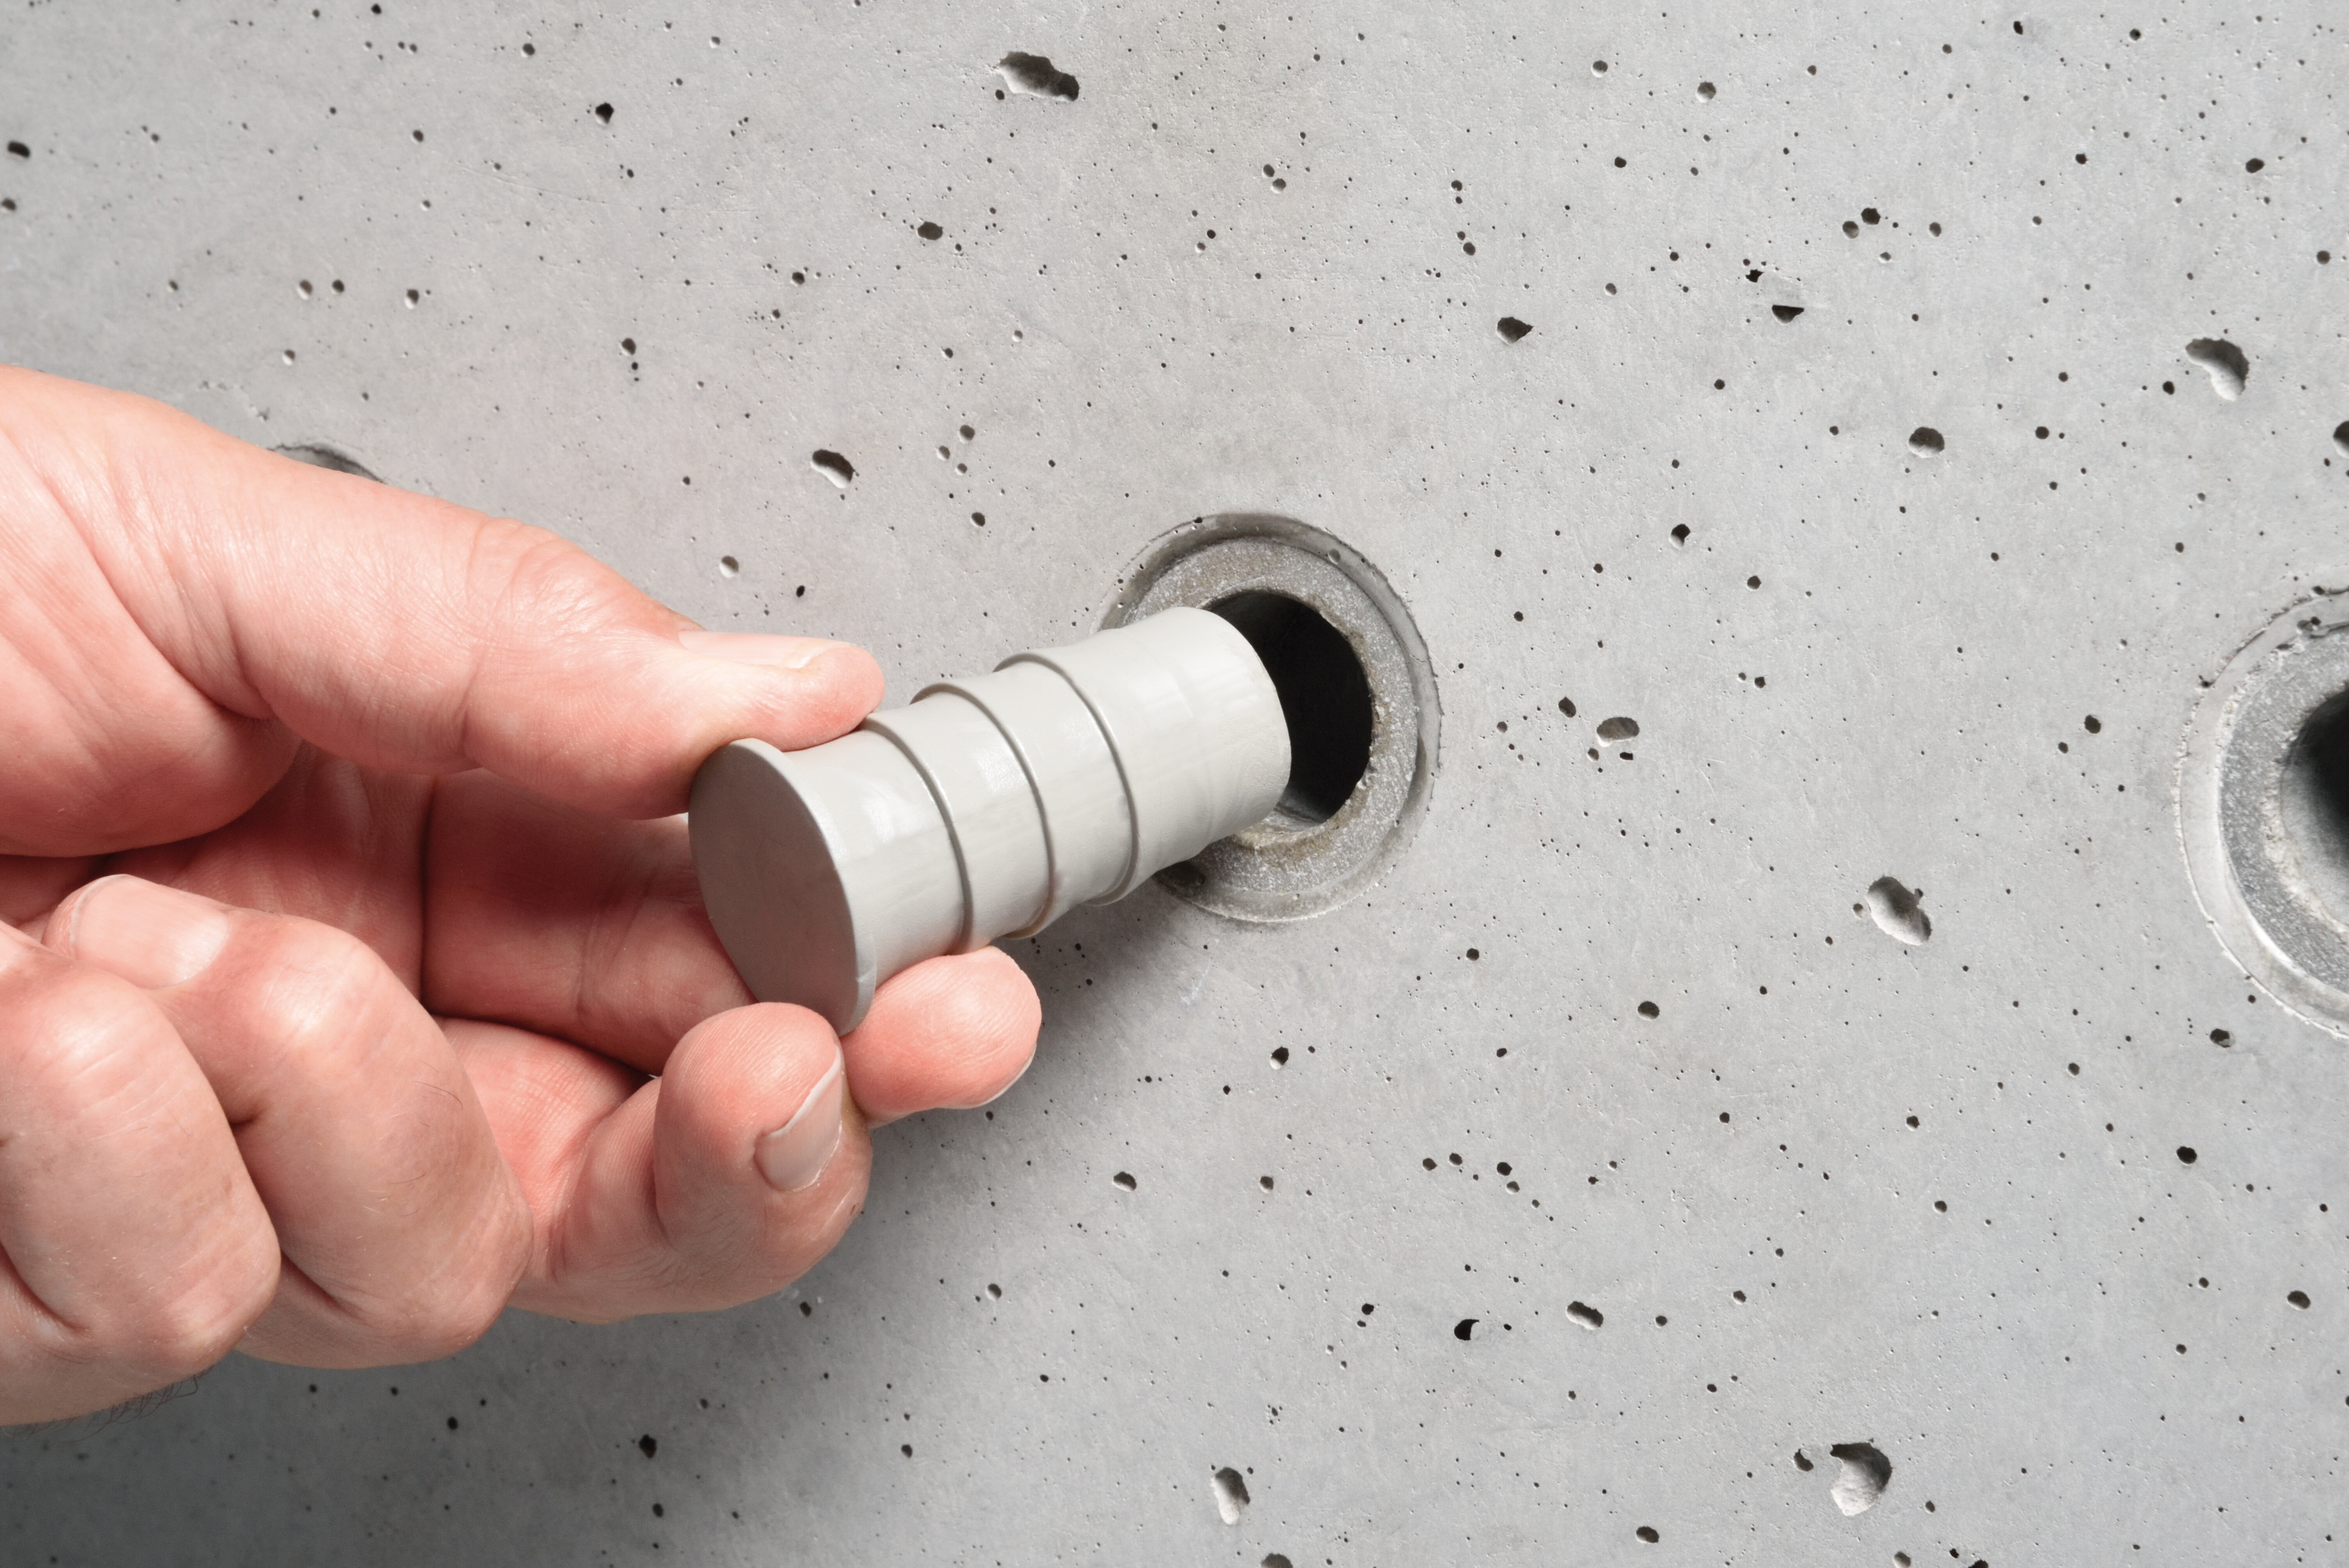
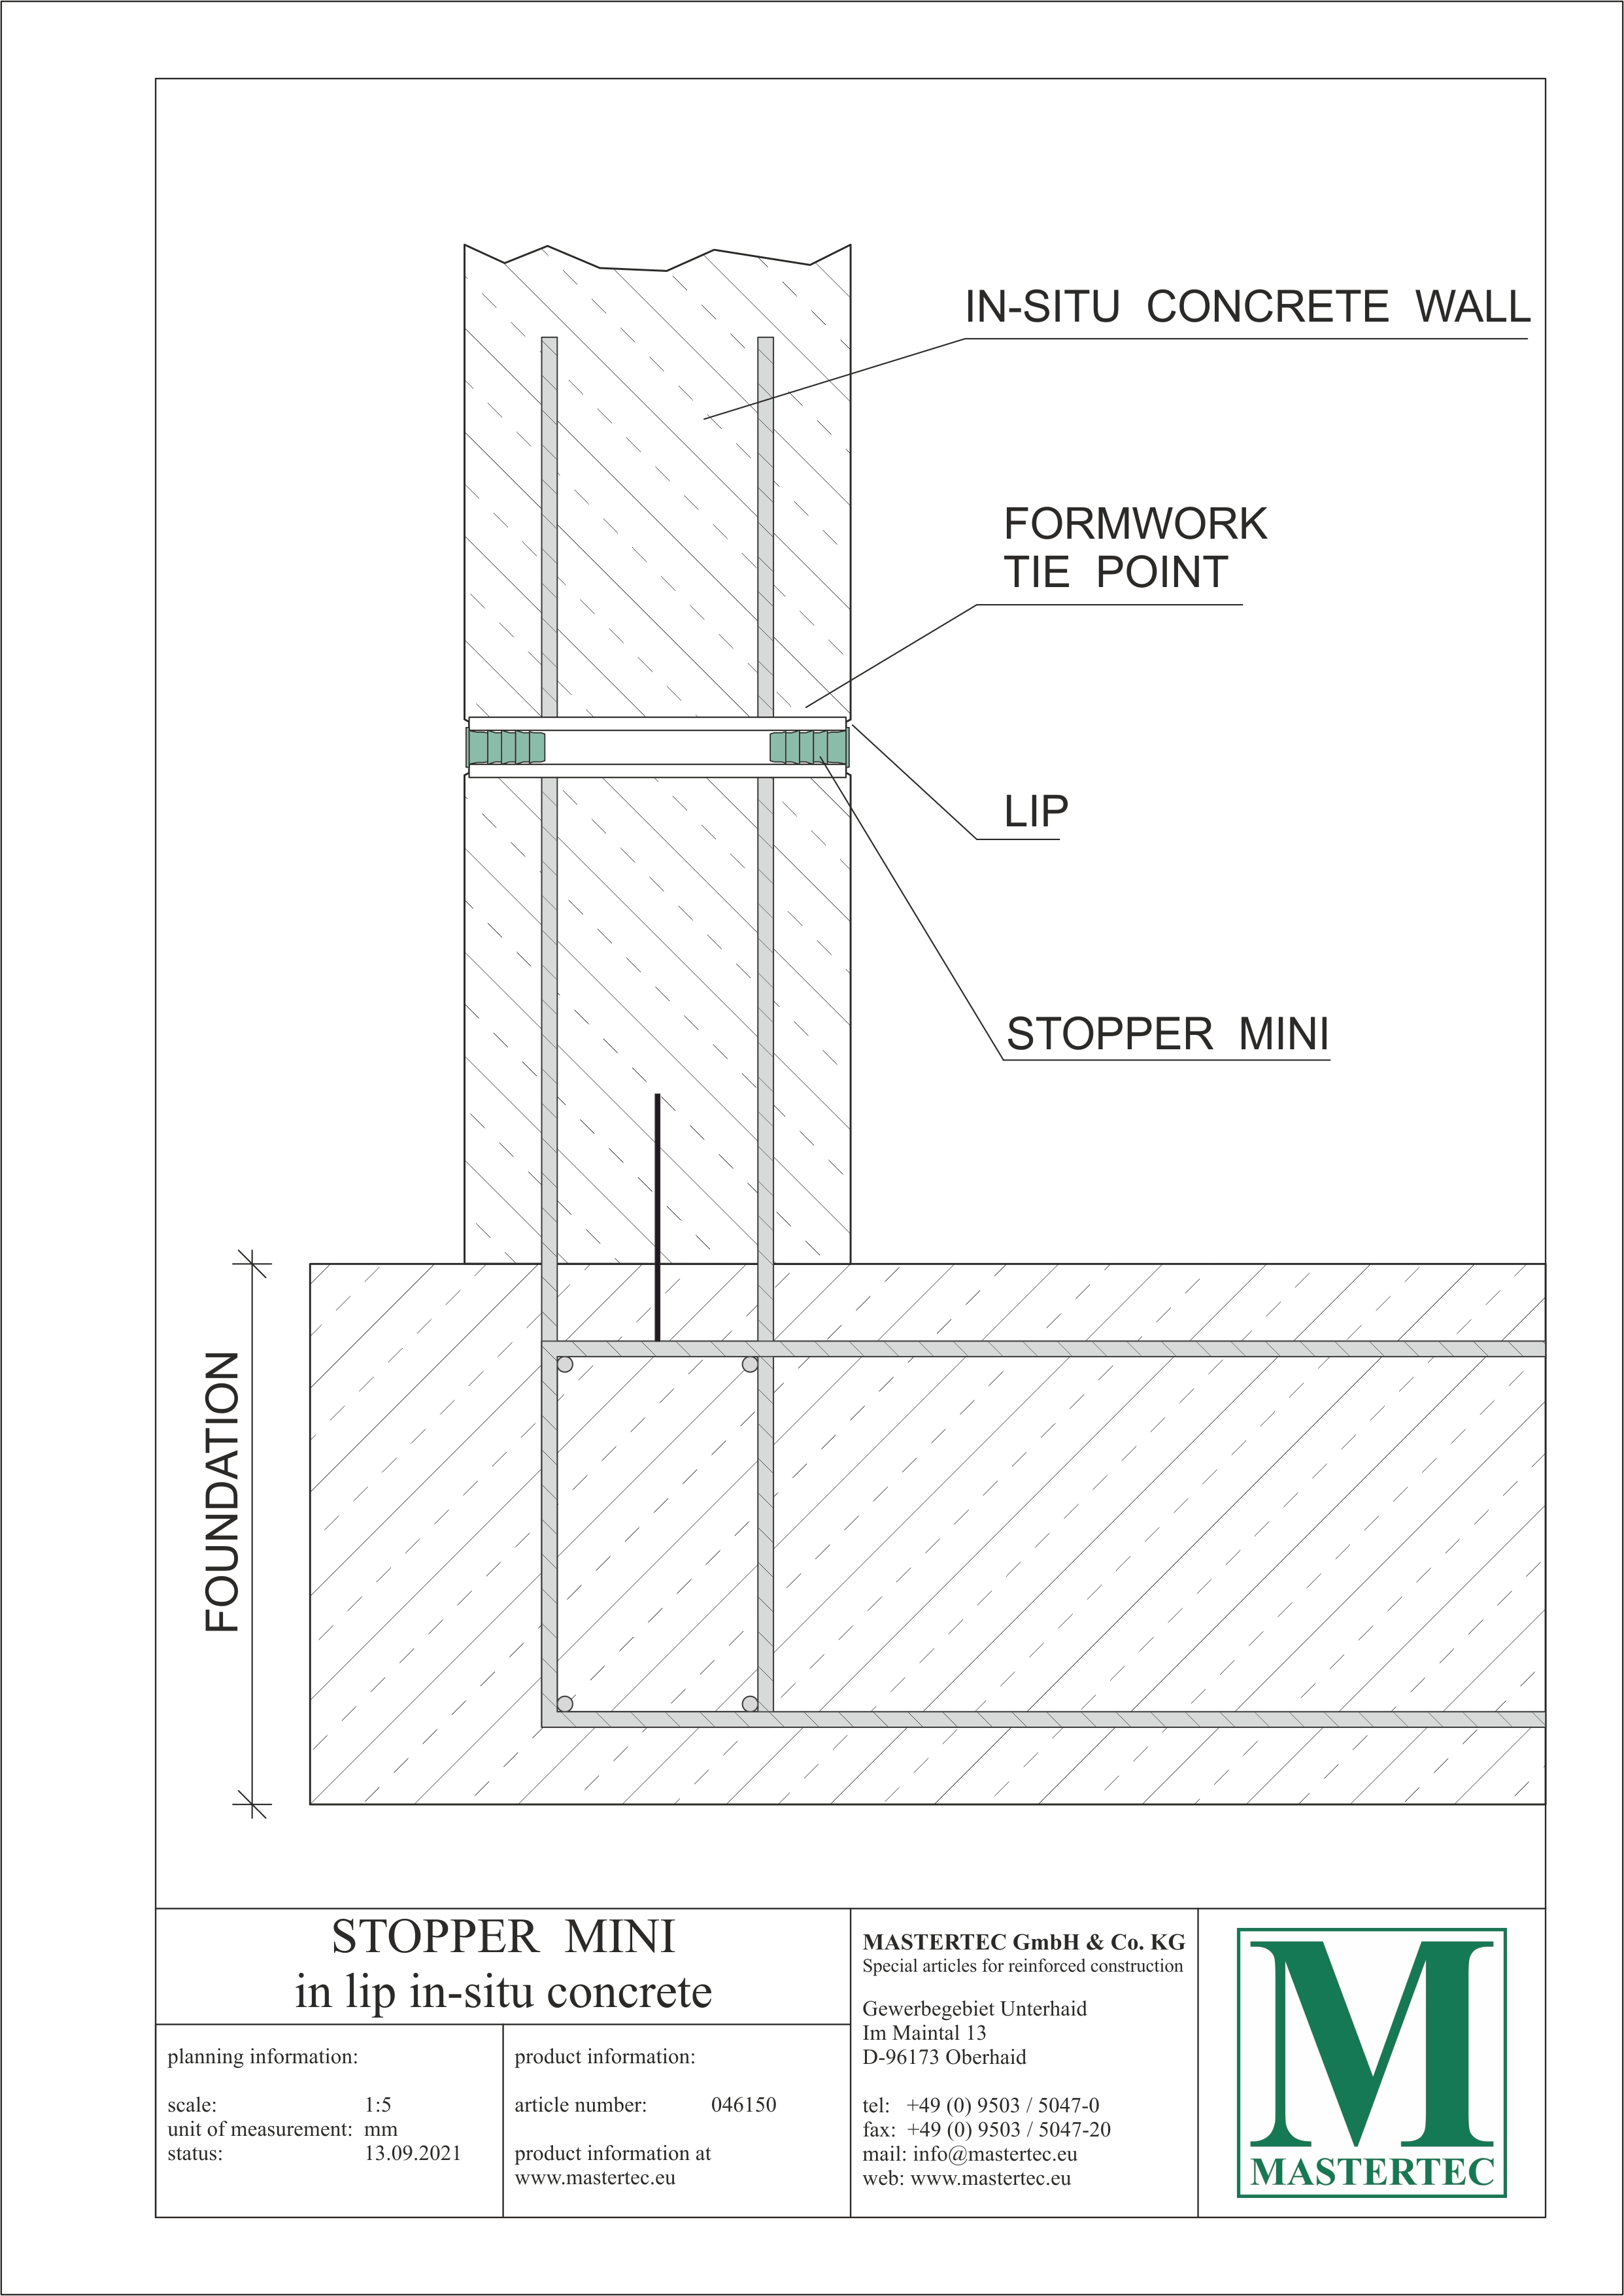
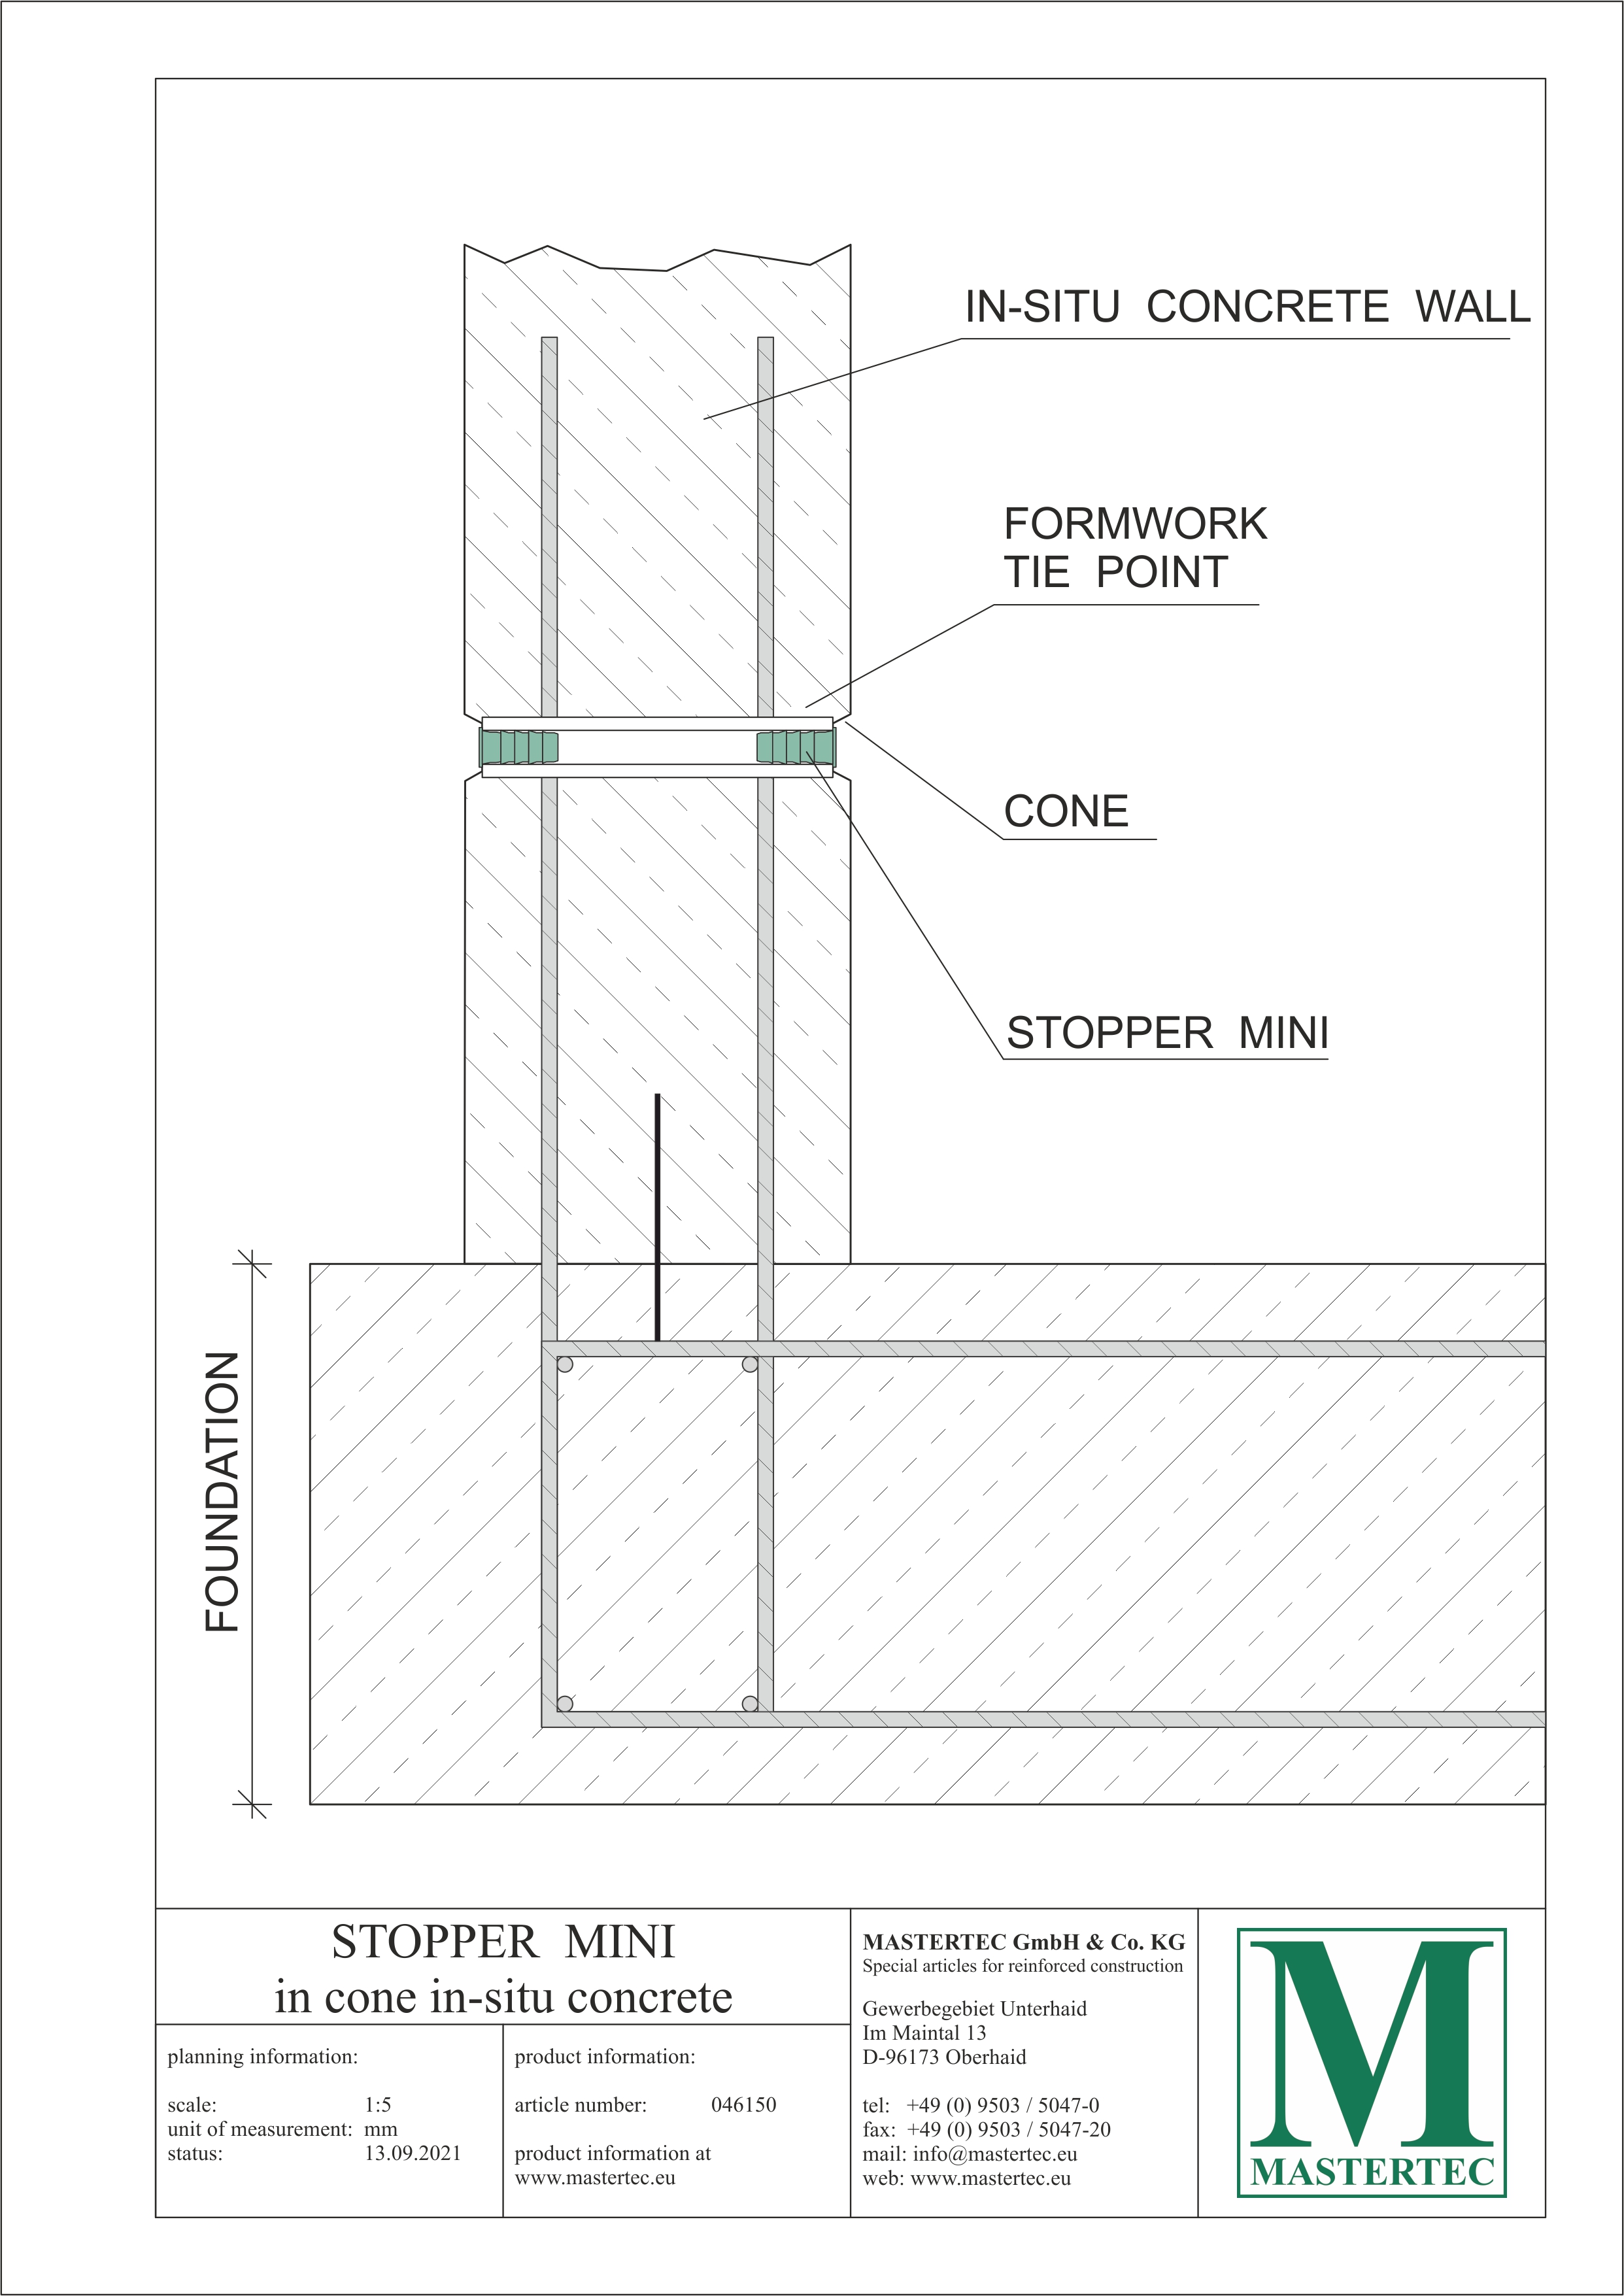
Whether using cones or lip seals, the STOPPER mini 22 can be used as the outer closure of the distance tube.

The STOPPER mini 22 is installed by driving it in with a hard rubber
mallet (weight 1500 - 2000 g) using reasonable force.

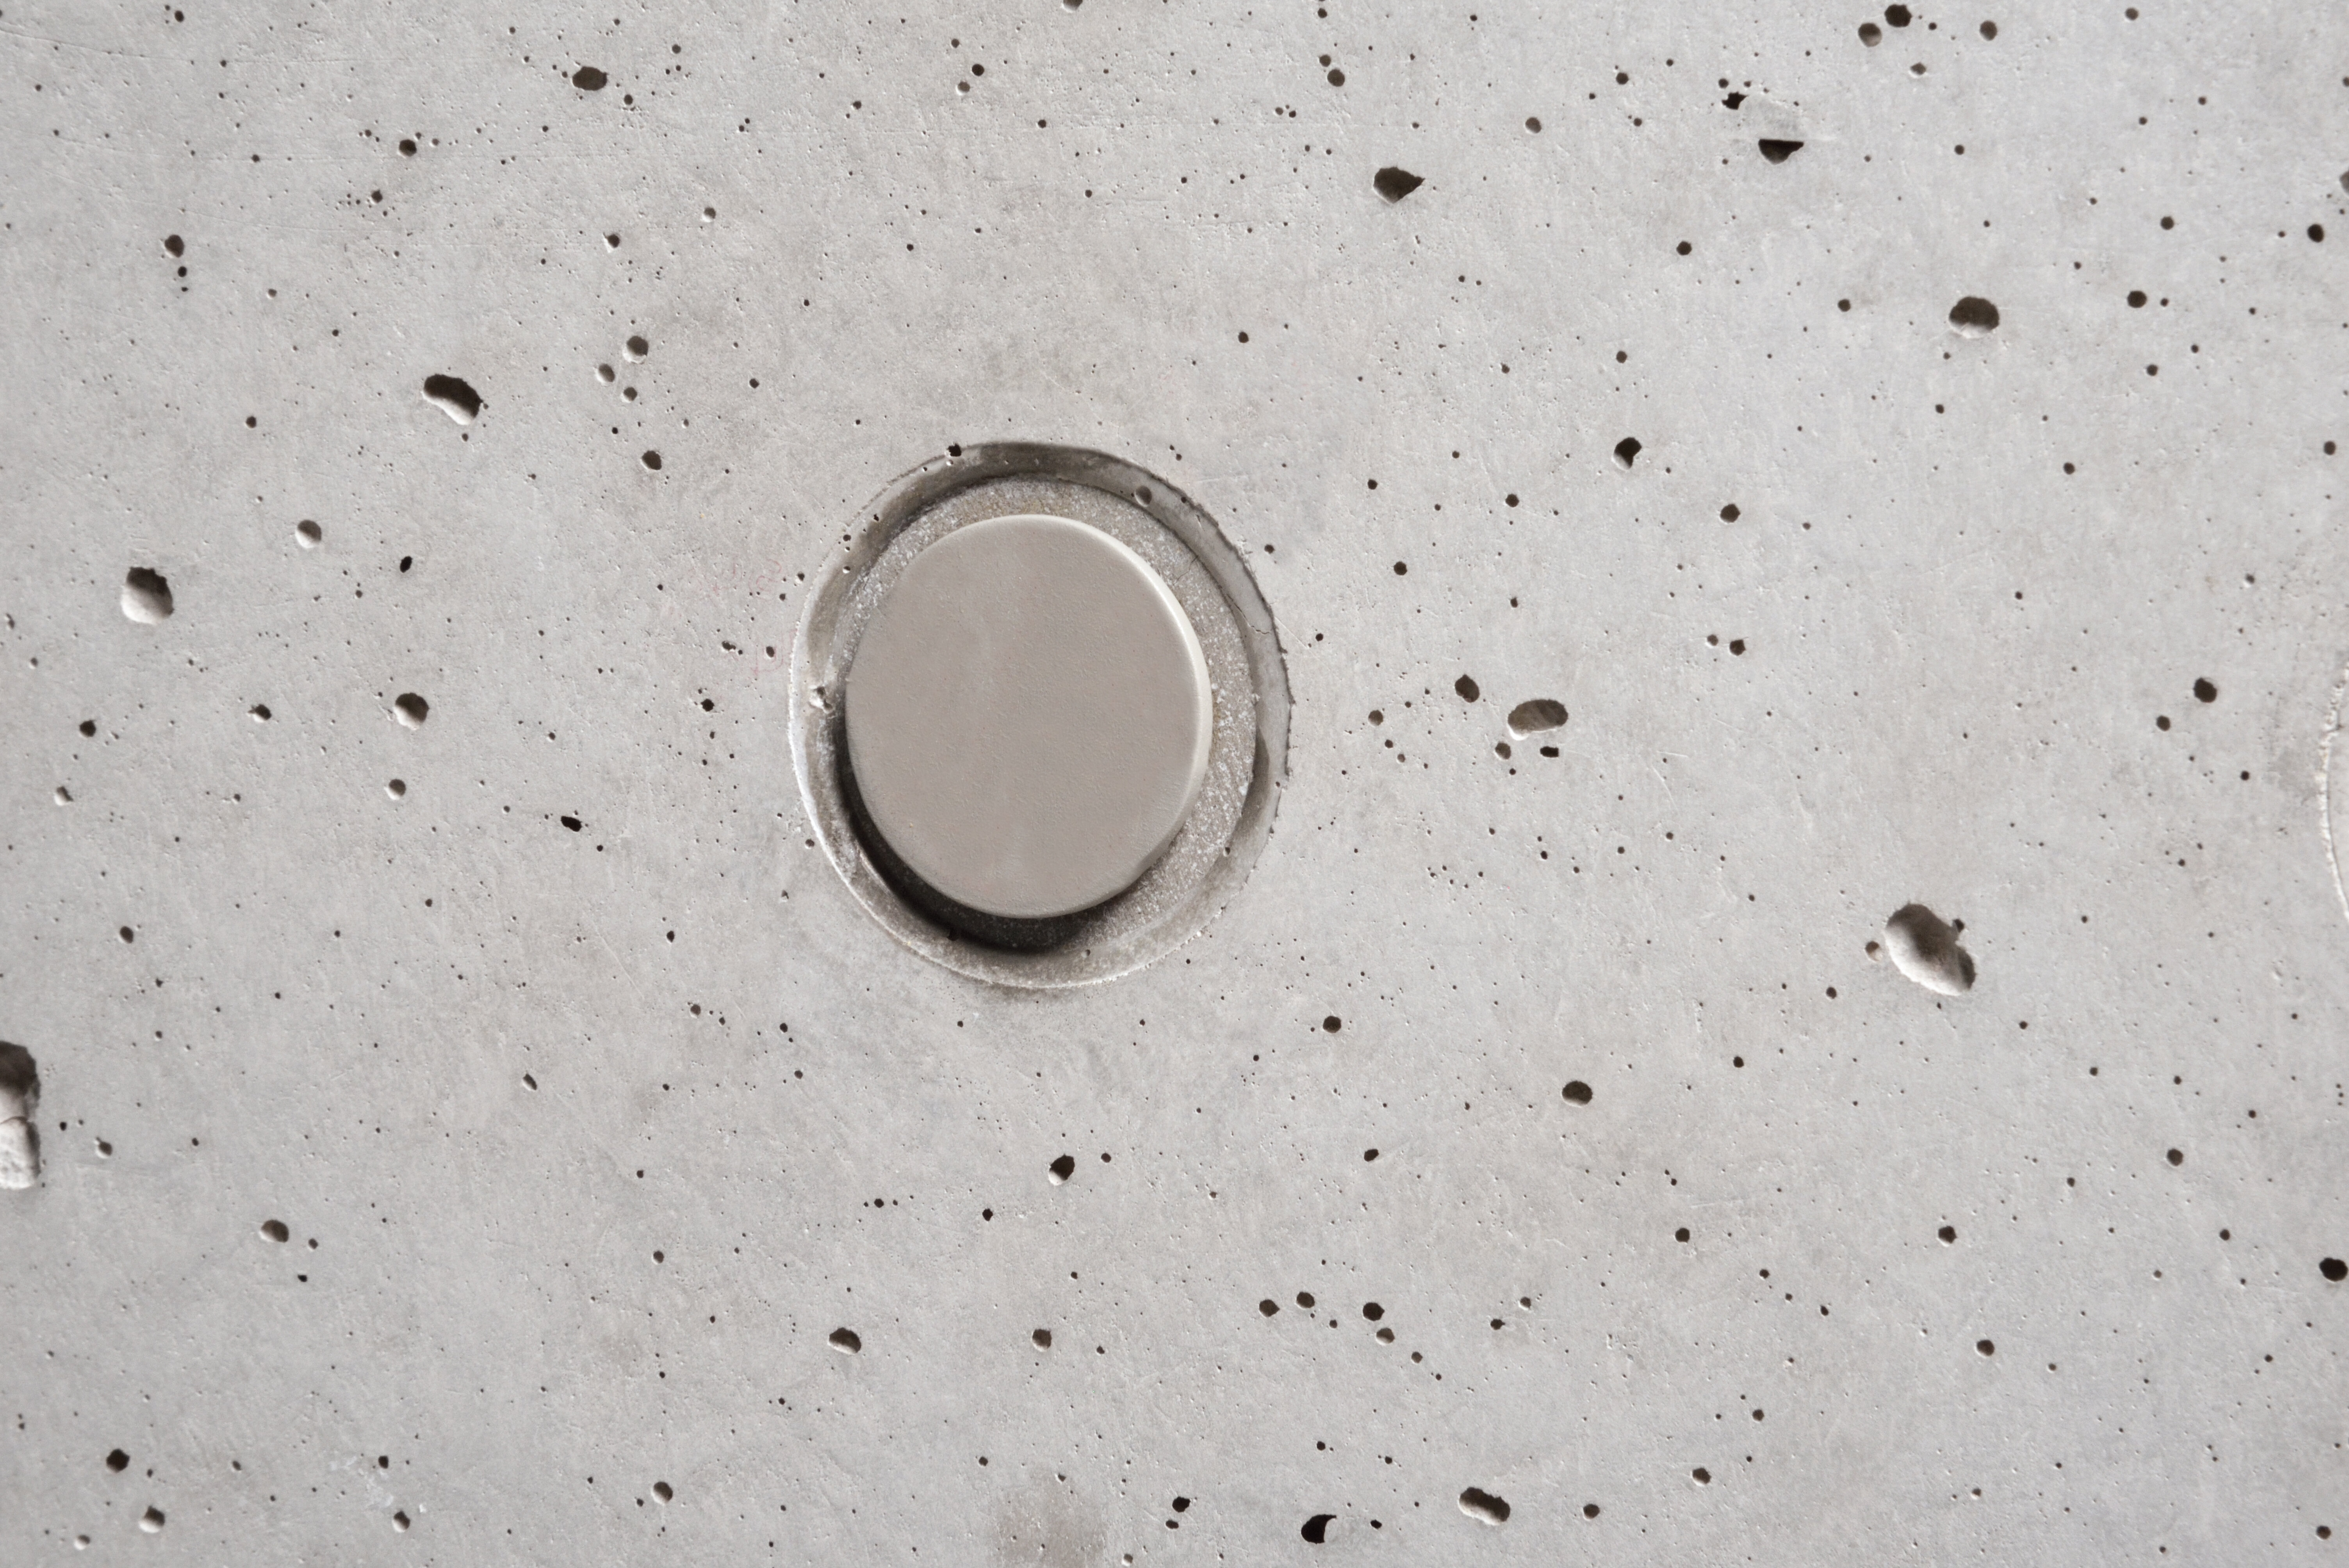
If a lip is used, the STOPPER mini 22 must be driven in so that it is flush.
The small surrounding edge of the STOPPER mini 22 must lie flat against the surface of the concrete.
!! The STOPPERS must always be driven in at both ends of the distance tubel!!

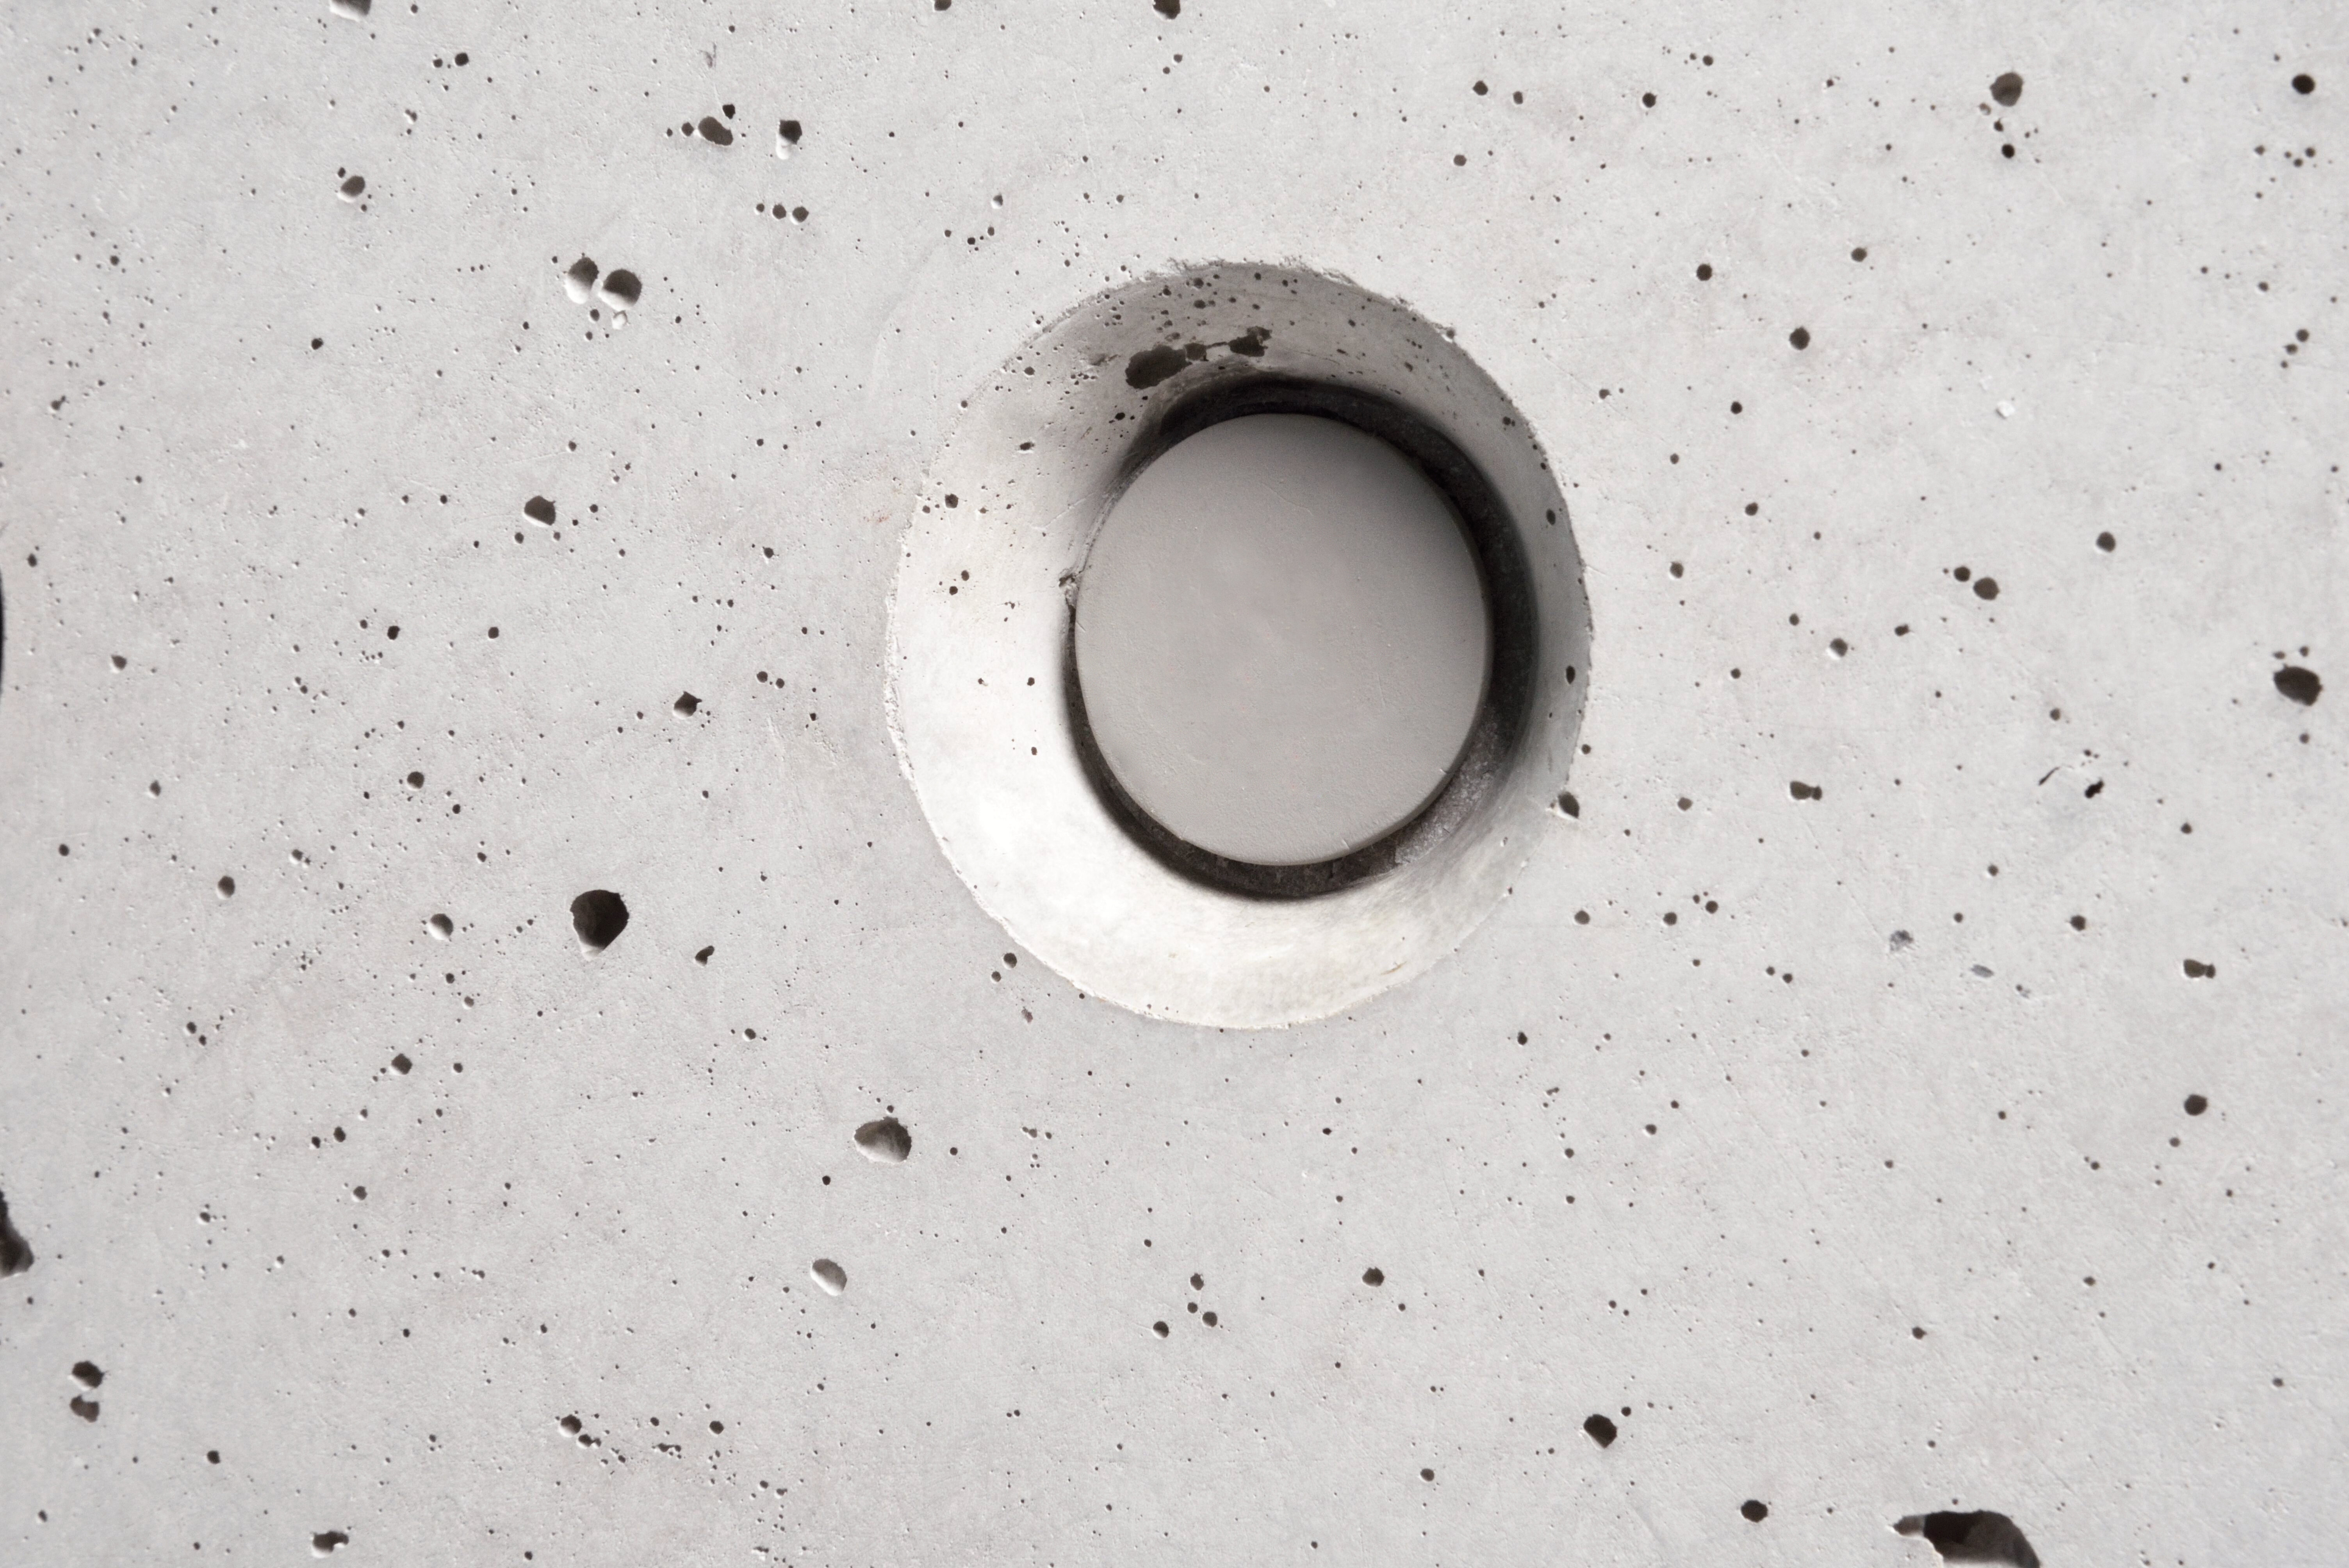
If used with a tapered cone, the last bit of the STOPPER mini 22 must be driven into position using a drive-in aid.

The STOPPER mini 22 is then driven in so far that the small surrounding edge is resting against the inner concrete surface.
!! The STOPPERS must always be driven in at both ends of the distance tubel!!
When driving in the second STOPPER mini 22 on the other end of the tube, it may appear that it is not possible to drive it in completely. This is due to compressed air trapped between the two STOPPERS.
If this situation occurs, simply wait and give the air time to escape before continuing to drive in the STOPPER into its final position.
Status: 23.03.2022
Аксесоари
подходящи аксесоари


Подобни продукти
Можете да намерите подобни продукти тук.


Вътрешна хидроизолация за стени с дебелина от пластмаса и фиброцимент ...
Свържете се с нас
Ще се радваме да отговорим на вашите въпроси